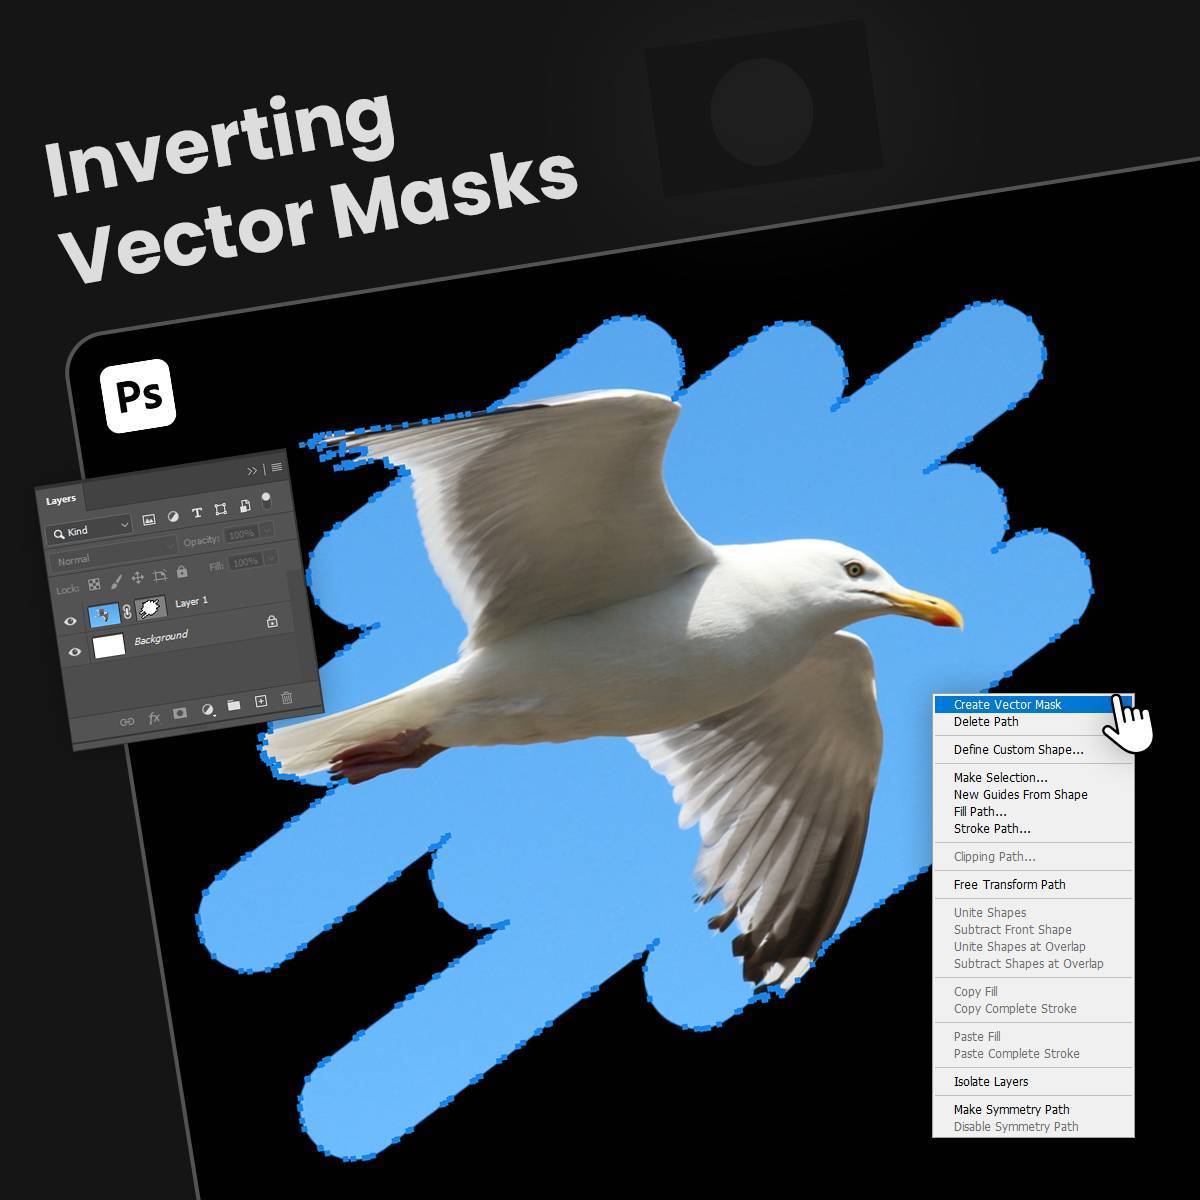
Are you ready to take your Photoshop skills to the next level? If you’ve ever wondered how to invert mask Photoshop, you’re in the right place. In this comprehensive guide, we’ll explain the process and show you how to master the art of inverting masks with ease.
A basic Introduction:
In the world of digital design, from an image to a versatile logo design, Adobe Photoshop is a powerful tool that enables artists and professionals to unleash their creativity. One of the essential features of Photoshop is the ability to work with masks. Masks are powerful tools in Photoshop that allow you to control and manipulate different elements of your designs. Among the various types of masks, the ability to invert a mask can provide a whole new level of creative possibilities.
Understanding Layer Masks in Photoshop:
Before we explore the process of inverting a mask, let’s first understand what layer masks are in Photoshop. Layer masks are grayscale images that determine the transparency of a specific layer. They allow you to reveal or hide portions of the layer by using shades of black, white, or gray. This powerful non-destructive technique provides flexibility and easy modifications to your designs.
Also Read: Exporting SVGs from Photoshop: Why and How
Step 1: Selecting the Layer Mask to Invert Layer Mask in Photoshop
Start by ensuring that you have an active layer mask on the desired layer. To identify a layer with a layer mask, look for a small white thumbnail that represents the mask. Click on this thumbnail to select the mask.
Step 2: Inverting the Layer Mask With the layer mask selected
Navigate to the “Image” tab in the menu bar, then select “Adjustments”, followed by “Invert”. Alternatively, you can use the convenient keyboard shortcut Ctrl+I (Command+I on a Mac) to invert the mask. As a result, all the areas that were previously hidden will become visible, and vice versa.
Step 3: Refining the Inverted Mask After inverting the layer mask
You may find the need to refine certain aspects of it for a more precise effect. By selecting the layer mask thumbnail and using the brush tool, you can paint with black, white, or shades of gray to further refine the visibility or opacity of the areas influenced by the mask. This level of control allows you to fine-tune your design to perfection.
Inverting Vector Masks in Photoshop:
While layer masks are incredibly useful, Photoshop also offers the ability to use vector masks, which provide even more precise control over shapes and paths. When it comes to inverting a vector mask, the process is slightly different but equally effective.
Step 1: Selecting the Vector Mask to Invert Vector Mask Photoshop
In Photoshop invert vector masking can be done easily. Begin by selecting the layer that contains the vector mask. Locate the small thumbnail that represents the vector mask and click on it to activate the mask.

Step 2: Inverting the Vector Mask Once the vector mask is selected
Head over to the “Paths” tab in the “Layers” panel. Right-click on the vector mask’s name and choose “Inverse Path” from the context menu. This action will invert the vector mask, altering its shape and visibility.
Expanding Your Creative Horizons:
Inverting masks is just one of many techniques at your disposal in the vast world of Photoshop. As you continue to explore the software, you’ll discover a multitude of tools, effects, and filters that can take your creations to new heights. Embrace the opportunity to expand your creative horizons and push the boundaries of your artistic vision.
Also Read: How to Reverse Selection in Photoshop: Beginner’s Guide
The Road to Mastery:
Becoming proficient in inverting masks in Photoshop is a valuable skill that can significantly enhance your image editing capabilities. It’s important to remember that mastery comes with practice. The more you experiment and familiarize yourself with the intricacies of Photoshop, the more you’ll develop your unique editing style.
Conclusion
With our detailed guide, you can confidently invert a mask in Photoshop opens up a world of creative possibilities, allowing you to experiment with visual effects manipulate your artwork in numerous ways, and achieve the precise edits you desire. Whether it’s layer masks or vector masks, the process remains simple and accessible for both beginners and experienced Photoshop users. Don’t hesitate to experiment and unlock your creativity using this indispensable tool.
So, the next time you’re working on an image in Photoshop, remember that inverting a mask is just a few clicks away. It offers you the flexibility and control needed to bring your artistic vision to life.
By following this step-by-step guide, you can confidently invert masks in Photoshop and leverage their full potential to create captivating designs. You can check the examples of some captivating Flyer designs in Maxobiz Portfolio
Continue exploring the software, and adapt these skills to suit your creative vision. Happy designing!


